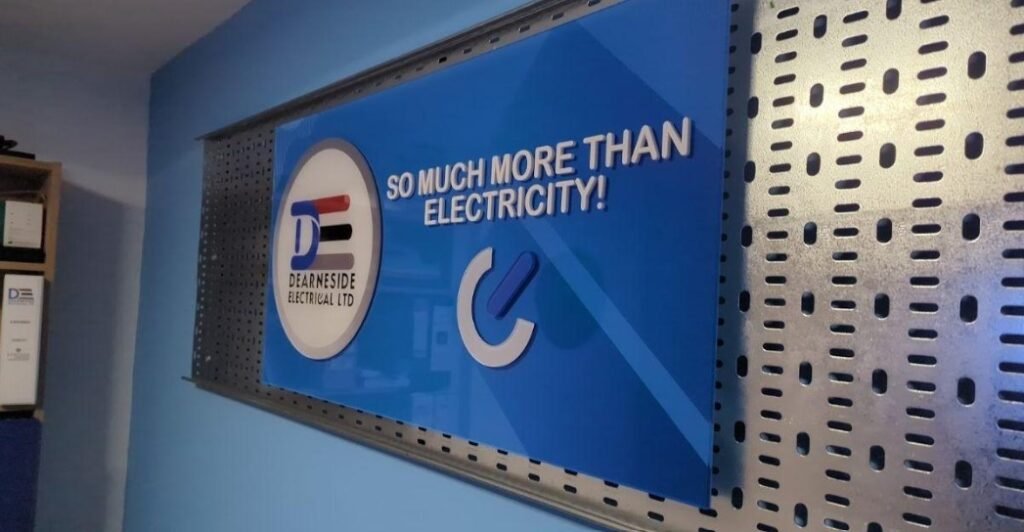
Plan placement, check wall strength, and measure accurately. Use proper hardware like standoffs, align layers carefully, and consider backlighting. Secure the sign well and give basic aftercare guidance.
Drilling without proper anchors can damage drywall, plaster, or even glass, leaving behind costly repairs and an unsteady surface for your signage. This is one of the biggest risks when installing double-layered signs in an office setting. Because these signs are heavier and more complex than standard flat signs, a poor installation can undermine both safety and appearance.
So, how can you make sure your sign looks professional and stays securely in place?
1. Plan the Placement Carefully

Before you even pick up tools, decide exactly where the sign should go. Think about visibility from different angles and distances. In an office, you might place a double-layered acrylic logo sign in a reception area or conference room where visitors gather. In a shop, the sign should be positioned where it catches customer attention without blocking displays.
Pro Tip: Use painter’s tape or cardboard cutouts to mock up the placement. This lets you preview how the sign will look on the wall and helps you avoid awkward alignments later.
2. Check the Wall or Surface
Double-layered signs, such as 3D wall letters, are often heavier than flat signs because of the added materials. For that reason, you need to ensure the wall or surface can support the weight. Drywall, plaster, wood, and concrete all require different mounting methods.
- Drywall: Use wall anchors or toggle bolts for secure installation.
- Concrete/Brick: A hammer drill with masonry screws or anchors will be necessary.
- Wood Panels: Standard screws may be enough, but check for studs for added strength.
If you’re mounting on glass or a temporary surface, consider free-standing frames instead.
3. Take Accurate Measurements
Precision is key with double-layered signs. If the sign is even slightly off-center, the layered effect can look uneven and unprofessional. The same applies to elements like a 3D print logo, where accuracy in alignment ensures the design looks sharp and professional on the wall.
- Mark a centerline on the wall with a level.
- Measure the sign dimensions carefully.
- Use a laser level if possible for perfect horizontal alignment.
Pro Tip: Always measure twice before drilling. A misplaced hole can weaken the wall and leave a visible mark.
4. Choose the Right Mounting Hardware
The type of hardware you use depends on both the weight of the sign and the type of surface. For double-layered signs, standoff mounts are popular because they elevate the sign slightly off the wall, emphasizing the layered design. Other options include:
- Adhesive Mounts: For lighter signs, industrial adhesives or double-sided foam tape can work.
- Screws and Anchors: Best for heavier or permanent signs.
- French Cleats: Provide strong support and allow for easy removal if needed.
Make sure the hardware you choose matches the finish of the sign so it doesn’t detract from the design.
5. Ensure Proper Layer Alignment
Double-layered signs rely on depth and precision. Misaligned layers can ruin the intended look. Before you finalize installation, assemble the layers on a flat surface and check spacing.
- Use spacers or standoffs between layers to keep the depth consistent.
- Confirm that logos, letters, or graphics line up properly.
If the sign includes lighting between layers, check for even distribution of illumination.
6. Consider Lighting
Lighting can make or break a double-layered sign. In offices, LED backlighting creates a modern and sleek impression, while in retail shops, spotlights can enhance product branding.
When installing, ensure wiring is concealed and safe. For wall-mounted signs, you may need to route cables through the wall to maintain a clean look. If you’re not confident with electrical work, hire a licensed electrician to handle this part.

7. Follow Safety Precautions
Never overlook safety during installation. Signs, especially layered ones, can be heavy and awkward to handle.
- Always work with at least two people for large signs.
- Wear safety glasses when drilling.
- Use proper ladders or scaffolding if the sign is positioned high.
In retail environments, schedule installation during closed hours to avoid accidents with customers.
8. Secure the Finish
Once the sign is mounted, double check every screw, anchor, and spacer. The last thing you want is for a sign to shift or fall. After securing, clean the surfaces with a non-abrasive cleaner to remove fingerprints or dust.
Pro Tip: For acrylic or metal surfaces, use microfiber cloths to avoid scratches.
9. Provide Aftercare Instructions
If you’re handling installation for a client, always leave them with basic care tips:
- Dust the sign regularly with a soft cloth.
- Avoid harsh chemicals that may damage finishes.
- For illuminated signs, check LED performance every few months.
- Contact a professional for re-mounting if the sign needs to be relocated.
This extra step shows professionalism and helps ensure the sign remains a long-term branding asset.
Making Your Double-Layered Signs Last
Installing double-layered signs in offices takes more than tools and hardware—it requires planning, precision, and care. From placement and wall checks to alignment and lighting, each step ensures your sign not only looks impressive but also stays secure for years to come.
By following best practices and paying attention to details, businesses can avoid costly mistakes and enjoy signage that reflects their brand’s professionalism. With the right approach, your double-layered sign will become a standout feature in your workspace, leaving a lasting impression on clients, staff, and visitors alike.


