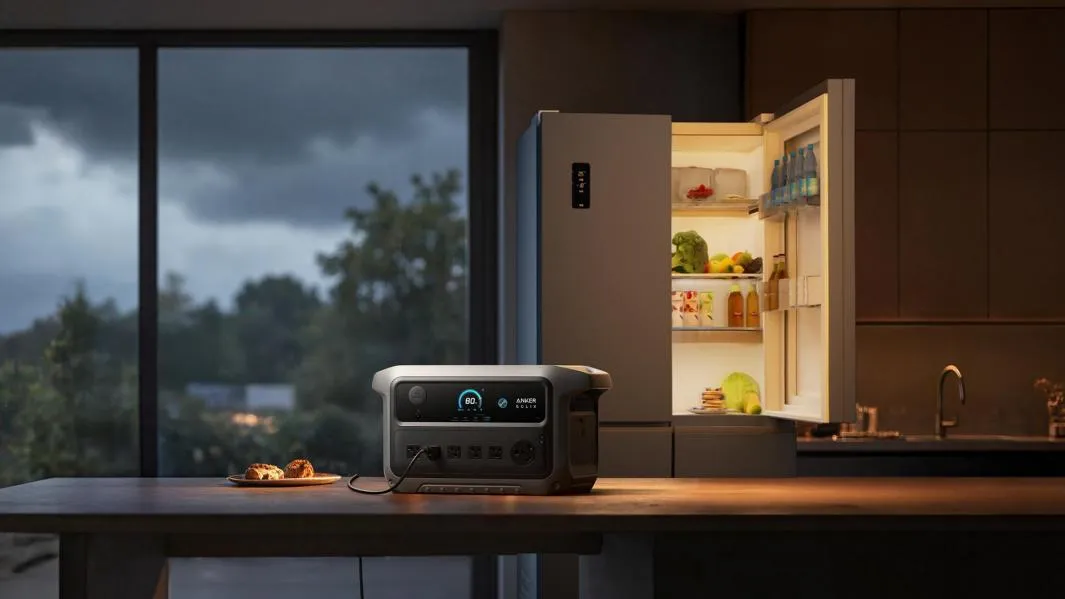
The portable power station setup is straightforward when you follow a clear process from the start. First-time users should focus on three basics: inspect the unit, charge it fully, and learn how each output works before connecting devices. That approach reduces mistakes and helps protect both the battery and anything you power. If you are setting up an Anker SOLIX C2000 Gen 2 Portable Power Station or a similar model, the same beginner principles apply. This guide walks through first charging, safe device connection, and simple battery care so you can start using your portable power station with confidence and without guesswork.
Basic Safety Check Before Use
Before turning the unit on, examine the housing, screen, ports, and cables for cracks, bent connectors, loose parts, or signs of shipping damage. Make sure the ventilation openings are clean and unobstructed. If the power station has protective film over the display or labels covering ports, remove them according to the manual. Place the unit on a dry, stable, nonflammable surface with enough space around it for airflow. Do not use the portable power station if you notice unusual odors, rattling sounds, visible damage, or moisture. Contact customer support instead of attempting a first startup.
Charging the Power Station for First-Time Use
Charging via Wall Outlet
For first-time setup, charge the power station from a standard wall outlet before powering devices. This gives you a stable baseline and lets you confirm the screen, battery indicator, and charging input are working correctly. Connect the AC cable securely, then check that the display shows charging progress. For the Anker SOLIX C2000 Gen 2 Portable Power Station, six ways to recharge are available, and AC plus solar supports very fast top-ups: 80% in 45 minutes and 100% in 58 minutes. During charging, keep the unit ventilated and avoid covering it with clothing, bags, or other items.
Solar and Car Charging Options
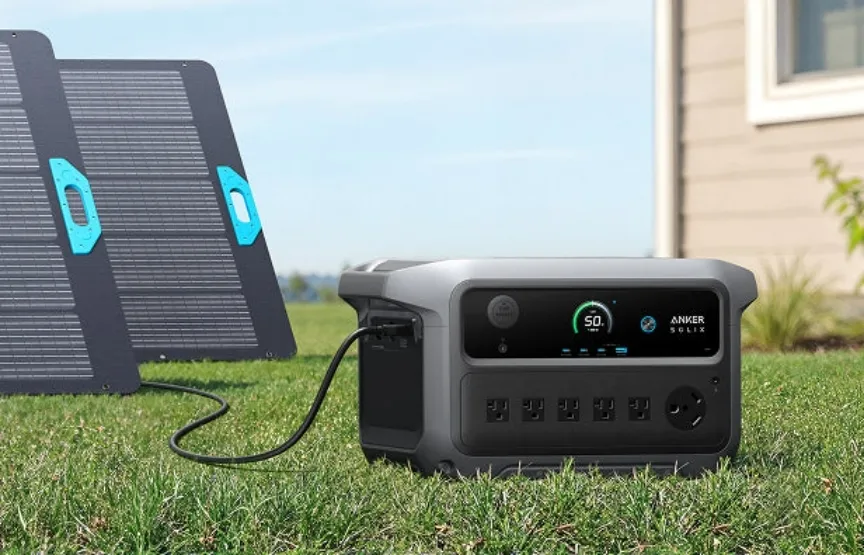
Solar and car charging are useful when you are away from home or preparing for outdoor use. For solar input, connect compatible panels as directed in the manual, place them in direct sunlight, and confirm that the display shows incoming wattage. Keep connectors dry and secure during setup. Car charging works through your vehicle’s outlet and is helpful during travel, though it is usually slower than AC charging. Start the vehicle if recommended by the manufacturer to avoid draining the car battery. Always use approved cables and check polarity, input limits, and connection order.
Connecting and Using Devices
Understanding Output Ports
Before plugging anything in, identify which ports match your devices. Most portable power stations offer AC outlets for household electronics, USB-A ports for smaller accessories, USB-C ports for phones, tablets, and some laptops, plus DC or car socket outputs for compatible equipment. Each port group may have its own power button, so the display and labels matter. Check both the device wattage and the maximum output rating of the selected port. Using the right output improves efficiency and helps prevent errors such as underpowering a device or trying to run a load from an incompatible connection.
Turning On and Plugging Devices
Turn on the power station first, then activate the specific output section you plan to use, such as AC, USB, or DC. Many beginners miss this step and assume a device is faulty when the port simply is not enabled. Plug in one device, verify that it powers correctly, and then add others gradually while monitoring the display. Watch for wattage, battery level, and any warning icons. Start with lower-demand electronics to build confidence. If a device cycles on and off, disconnect it and confirm that its power requirements, startup surge, and plug type match the station’s output.
Safety and Best Practices
Avoiding Overload and Heat Issues
To avoid overload, add up the running wattage of connected devices and stay below the unit’s rated output. Be especially careful with appliances that have motors or heating elements because they may draw a higher startup surge. Place the power station in a shaded, well-ventilated area and leave space around the vents during charging and use. Do not operate it inside enclosed containers, hot vehicles, or near open flames. If the unit feels excessively hot, shows an overload warning, or shuts down unexpectedly, disconnect devices, turn off outputs, and allow it to cool before restarting.
Battery Care and Storage Tips
Good battery care starts with regular use and sensible storage habits. Recharge the power station before it reaches a critically low level whenever possible, and avoid leaving it at 0% for long periods. If you will store it, turn the unit off, keep it in a cool, dry place, and check the battery level every few months. Many users store portable power stations partially charged rather than completely full or empty for better long-term battery health. Keep the ports clean, avoid dropping the unit, and use the original or approved charging accessories to maintain safe, reliable performance.
Conclusion
Setting up a portable power station for the first time is mostly about following the right order: inspect it, charge it, learn the ports, and connect devices carefully. A full first charge through AC power gives you a reliable starting point, while solar and car charging add flexibility later. Paying attention to output limits, ventilation, and battery care will help the unit perform safely and consistently. If you are using the Anker SOLIX C2000 Gen 2 Portable Power Station, its fast recharge capability can make startup even easier. With these basics in place, you can use your portable power station with confidence.